
Cunning_Pam
Photos, OH, and You
Apr 01, 2014
For many people, taking photos of their weight loss journey is an important part of the process. There's no better way to document your progress and see the outward changes in yourself, and to remind yourself how far you've come when the going gets a little rough. As members of OH, many people want to show off their progress to their online friends. This doesn't just apply to OH, of course. Those of us who use FaceBook or other social media also have the opportunity to share pictures and to get support. But I see a lot of people saying that they don't know how to resize or otherwise manipulate their photos. There are many of us who never even had to worry about pictures, since we never allowed our pictures to be taken! Well, I was one of those people too. But I've learned the value of having photos of myself, and I'm learning how to work with them so I can share them and make them a more valuable part of the permanent record of my weight loss.
I want to help people with a few simple tricks to make it easier to show off their pictures, so I'm going to do a short series of blog posts about the subject. I'll cover how to resize your pictures, crop them, add text to them, put multiple pictures together, and anything else you may want to know (and I can figure out how to do!) I'm not any kind of photography or photo manipulation professional, but the good news is, you don't have to be either! If you're reasonably proficient with a computer, you can do this too. Please note that there may be other ways to do these things, I'm just going to share the ways I've found, and I'm going to do it in as simple a way as possible.
The first step is to download GIMP. GIMP is a free - yes, that's right, FREE! - image manipulation program. Think of it as PhotoShop without the hefty price tag. You can download GIMP at www.getgimp.com. If you're more comfortable finding your own way to the site than clicking my link, just Google "download GIMP" and follow the links. Follow the installation directions and GIMP will put a shortcut on your desktop. Keep in mind that I'm working with a PC and Windows so if you are using a Mac or Linux or anything else, your process will be different. That, and I can't help you with the download or installation! 
Ok, if you're all installed, let's learn how to resize a picture.
First, open GIMP. There should be an icon on your desk from when you installed it, or you can open it however you're normally used to starting programs. You should get three windows that pop up, which look like this:
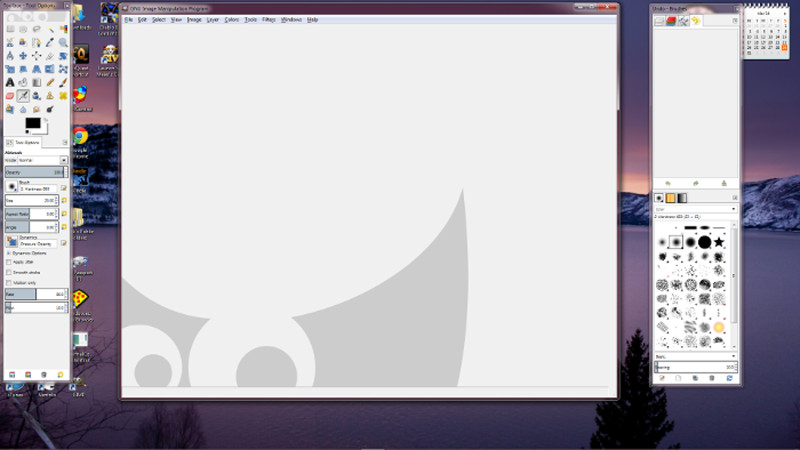
Don't panic! Yes, there's a lot of stuff there, but most of it you're not even going to worry about. We need very little of the program's abilities to do what we need here; all we're going to be concerned about is the large middle window. Now, open up the picture you want to work with: From the middle window, go to File, then Open from the drop down menu, and you'll get a box that looks like this:

Using the list of locations on the far left, navigate to where you stored your picture. You can also use the Search function at the top left to find your picture. If you notice you can click on the name of an image and you will get a small preview in the window to the right. Once you've found the picture you want, open it up by clicking the Open button at the bottom, and you'll get something like this:

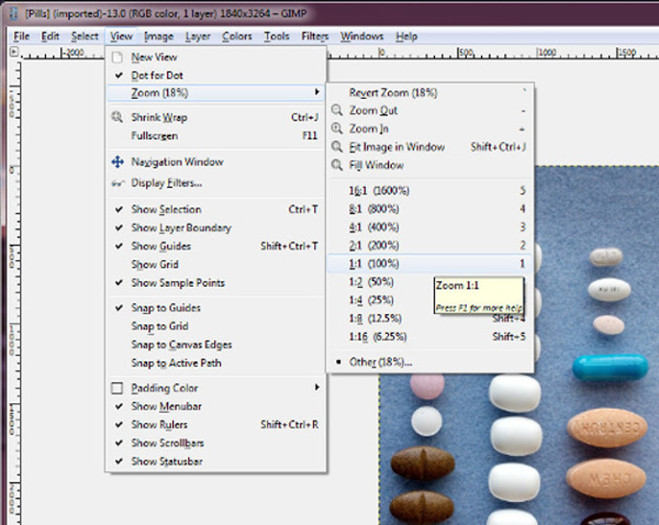
It looks pretty little, right? But looks can be deceiving! We want to see our picture at its actual size. So up on the menu bar at top, click on View, and then down in the drop down menu click on Zoom (18%) (Note that there may be another number in the space instead of 18%, just ignore that), and then from the last menu click on 1:1 (100%).
Whoa! That's HUGE!
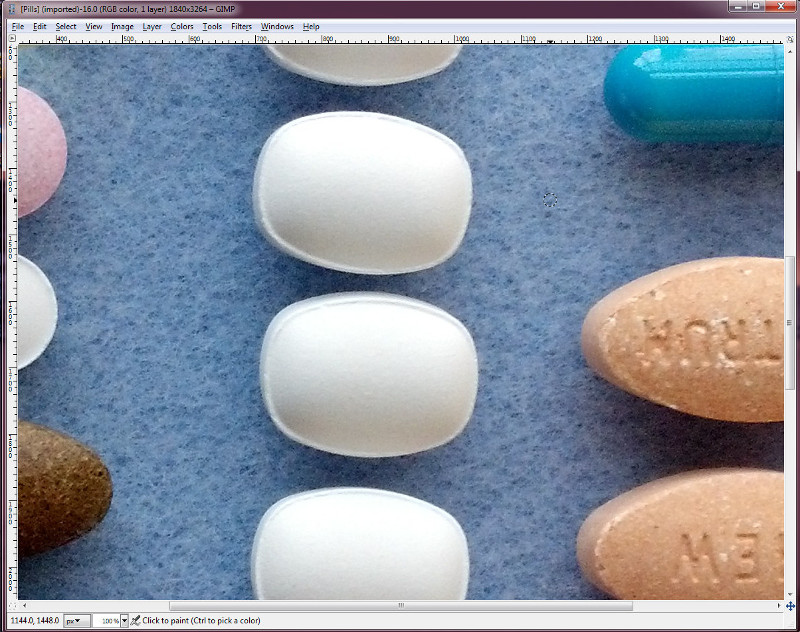
That's part of why it's hard to work with photos sometimes. Many of our cameras and cell phones are set to take big pictures at fairly high sizes and resolutions. So we're going to adjust this a bit.
On the main menu, click on Image and then Scale Image...
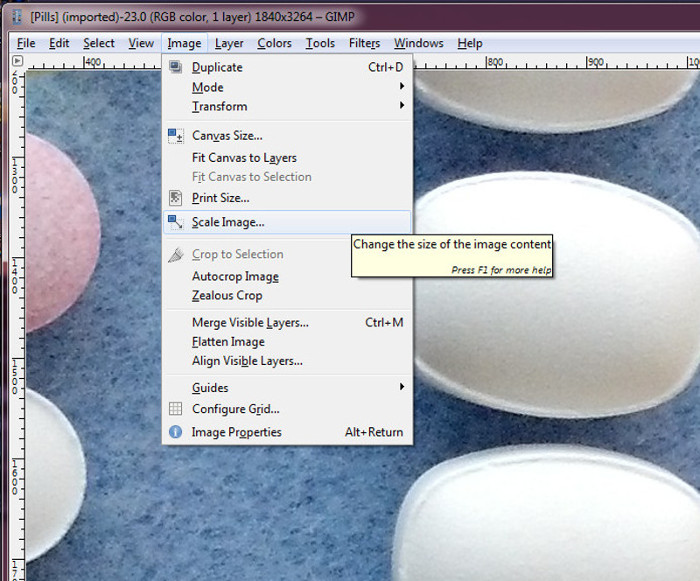
And you'll get a box like this:

We're only going to be concerned about the first two lines right under the words Image Size. Right now, the program is set to display the size of the image in pixels. This particular picture is 1840 by 3264 pixels. That's immense! My monitor, for instance, is only 1920 by 1080 pixels, so that picture would be much bigger than my monitor is capable of displaying!
If you look at the Scale Image box, there's a little chain icon next to the two boxes that show the image size. If you click on it, that chain becomes broken. We want that chain intact, so click it again if you "broke" it. This will make it so that the program will automatically adjust one dimension proportionately to how you change the other dimension. If you don't adjust the size proportionately, your picture will look squashed or stretched. So, click and hold on the little down arrow to the right of either one of the pixel size numbers. You'll see the numbers start to go down, both at the same time. Go ahead and play with it, and when you think it's the size you want, hit the Scale button at the bottom of the box. The program will figure out the new size of your picture and put it on the screen. Is it still too big? Then repeat the process, starting from the Image selection from the main menu at the top. Keep adjusting the size until you think it's a good size to put on a web page. (I usually make mine no taller than 500 pixels and no wider than 600, or thereabouts. It's not science, just pick whatever looks good to you.) Tip: If you already know what size you want to make a particular dimension you can just click in the appropriate box and enter the size, rather than clicking and holding the little arrow button. Much faster.)
Once you have the image set to the new size you want, go up to the main menu again and click File, then click Export As... from the drop down box.

You'll get a new dialog box with everything you need to be able to save your picture in its new form.
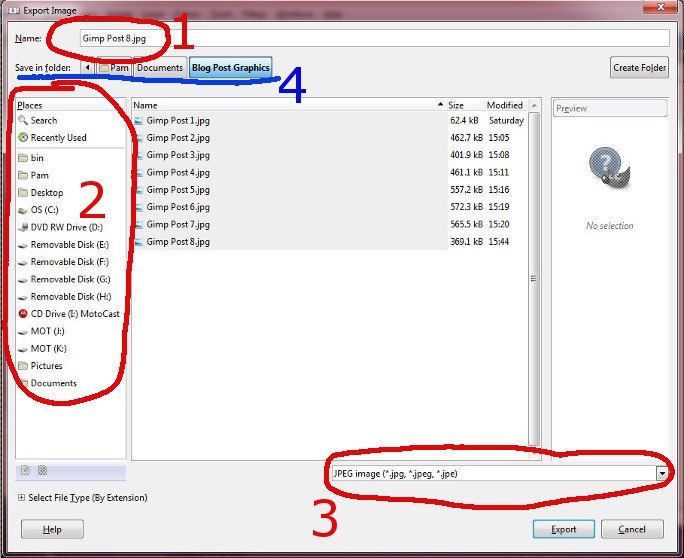
From here, you can:
1. Give your picture a new name
2. Save your picture to wherever you want to on your computer. For instance, if you have one folder for "Camera Pics" and another for "Posted Pics", you can open the ones from Camera Pics, modify them, and then save them in Posted Pics before uploading. Whatever you find easiest.
3. Save your picture to a new type of file. I recommend exporting it to a JPG (or JPEG), as that's a common and easily manipulated form. Your pictures will probably be JPGs to begin with. To select the file type, click and hold on the little down arrow and then scroll to the selection for JPG.
4. Notice in option 4 that you can see the file tree that leads to the place you're saving your picture to.
Once you've set up your picture to be saved the way you want it, click the Export button at the bottom of the window. You'll get another little dialog box pop up, which you can ignore. Just click the Export button in the new box, and voila, your picture is updated and saved!
Note that this process gives you two pictures, the original one and the new one. I like to keep the original version as a "file copy" and save the one I've worked on with a new name. This makes it so that if I want to do something different with the original picture I haven't lost anything from it.
Next time, how to rotate and crop your pictures and adding text.
Let me know if you would like to learn other things!